
To install a dash cam, start by selecting a model with good resolution, night vision, and wide-angle lenses. Prepare your vehicle by clearing the windshield and gathering tools. Mount the camera securely using appropriate adhesive or mounts, making sure it won’t obstruct your view. Connect the power source carefully, either plugging into the 12V outlet or hardwiring it. Finally, adjust the angle, verify footage, and keep everything tidy—continue on to learn detailed steps for a flawless setup.
Key Takeaways
- Select a suitable dash cam considering resolution, night vision, storage, and weather resistance for optimal performance.
- Prepare your vehicle by clearing the windshield and gathering necessary tools before installation.
- Mount the dash cam securely using adhesive or mounts, ensuring it doesn’t obstruct your view.
- Connect the power source reliably, managing cables neatly and verifying the device powers on correctly.
- Perform final adjustments, check recordings, and maintain the device regularly for consistent operation.
Selecting the Right Dash Cam for Your Vehicle
Choosing the right dash cam starts with understanding your specific needs and vehicle setup. You should consider camera features like resolution, night vision, and wide-angle lenses to guarantee clear footage in various conditions. Think about how much storage capacity you’ll need; longer trips require more space for recordings. Some dash cams offer loop recording, which overwrites old footage when storage is full, while others have expandable memory options. If you frequently drive at night or in poor lighting, prioritize features like enhanced night vision. Additionally, look for user-friendly controls and durability to withstand weather conditions. Proper installation techniques ensure your dash cam functions optimally and remains secure. When selecting a device, consider camera placement to maximize coverage and minimize blind spots. It’s also beneficial to choose a dash cam with reliable power sources to prevent unexpected shutdowns during long drives. For optimal performance, selecting a dash cam with high-quality components can significantly improve footage durability and clarity. Furthermore, choosing a device with smart connectivity features can enhance your overall user experience. By evaluating these factors, you’ll select a dash cam that fits your driving habits and provides reliable, high-quality recordings when you need them most.
Preparing Your Vehicle for Installation
Before installing your dash cam, it’s essential to prepare your vehicle to guarantee a smooth and secure setup. First, check your vehicle’s compatibility with the dash cam model you’ve chosen, ensuring it fits and functions properly. Clear the area around your windshield and dashboard to create space for installation. Gather all necessary installation tools, such as screwdrivers, trim removal tools, and possibly a power cable kit. Inspect your vehicle’s interior for any obstructions or wiring routes that could interfere with the camera’s placement. Turn off your vehicle’s power to avoid electrical issues during installation. Additionally, understanding the GMC tuning options can help you optimize your vehicle’s electrical system to support new accessories like a dash cam. Taking these steps beforehand will streamline the process, prevent surprises, and help ensure your dash cam is installed securely and correctly. Ensuring proper electrical compatibility is essential to avoid potential issues with power supply and device operation.
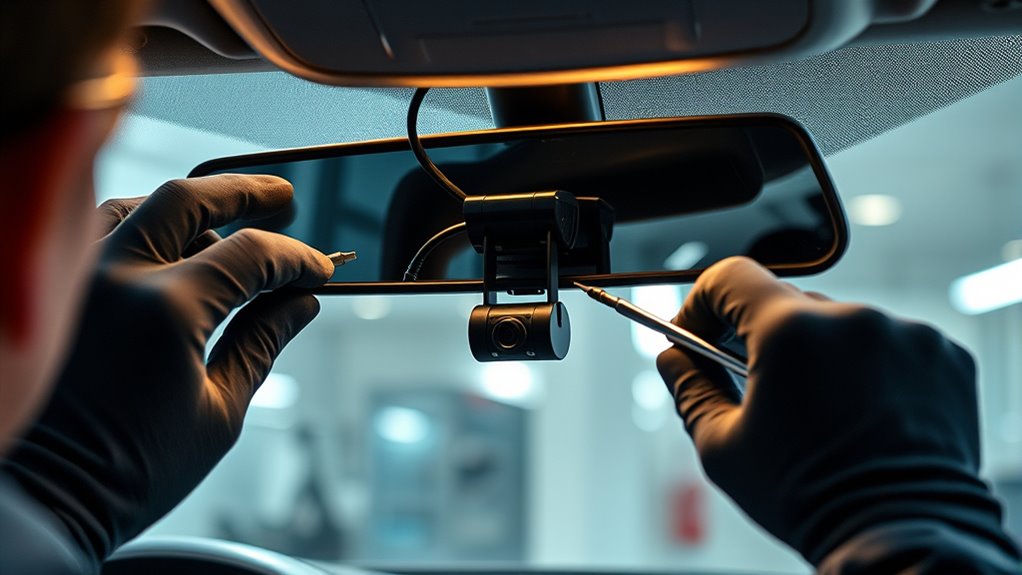
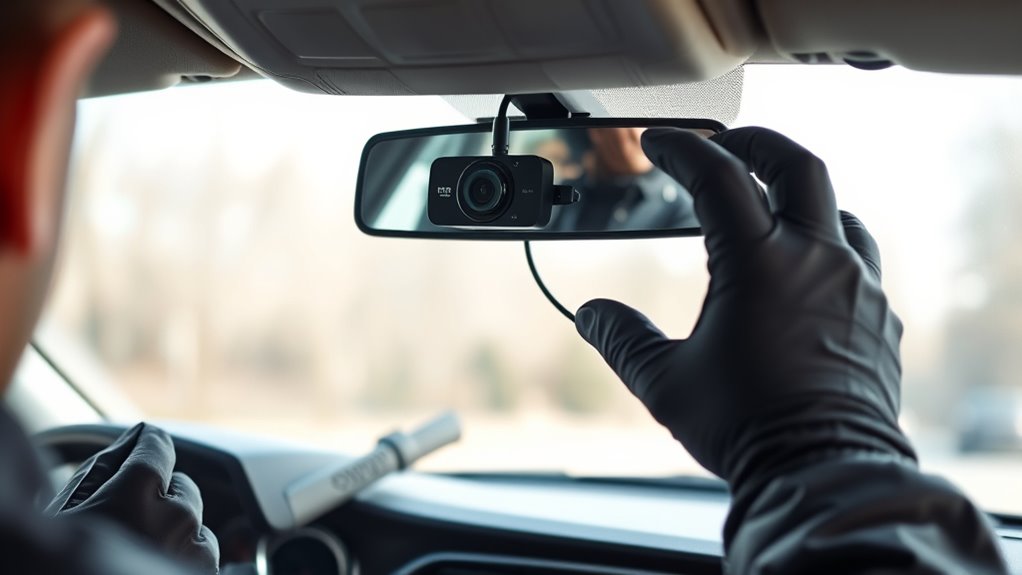
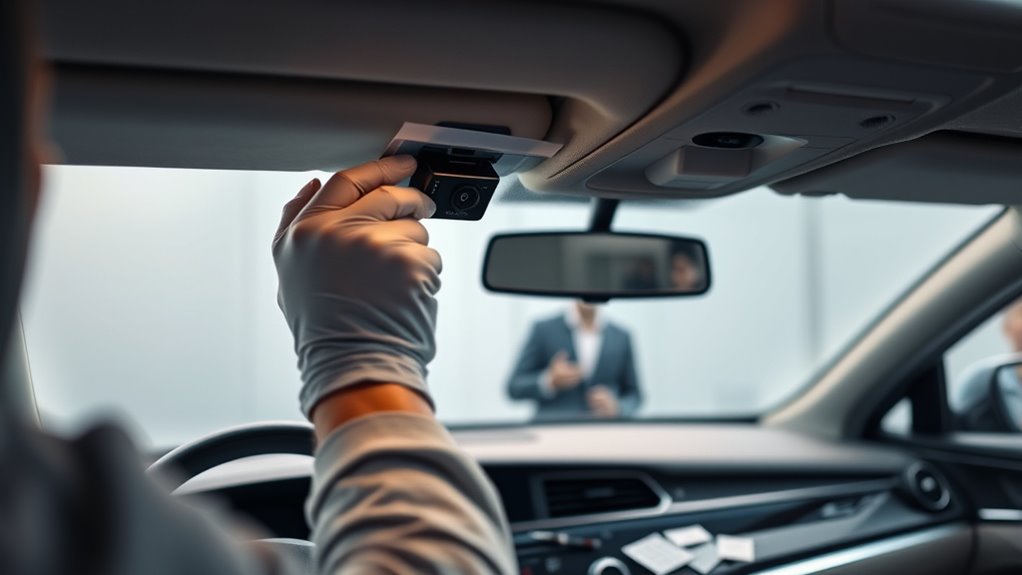
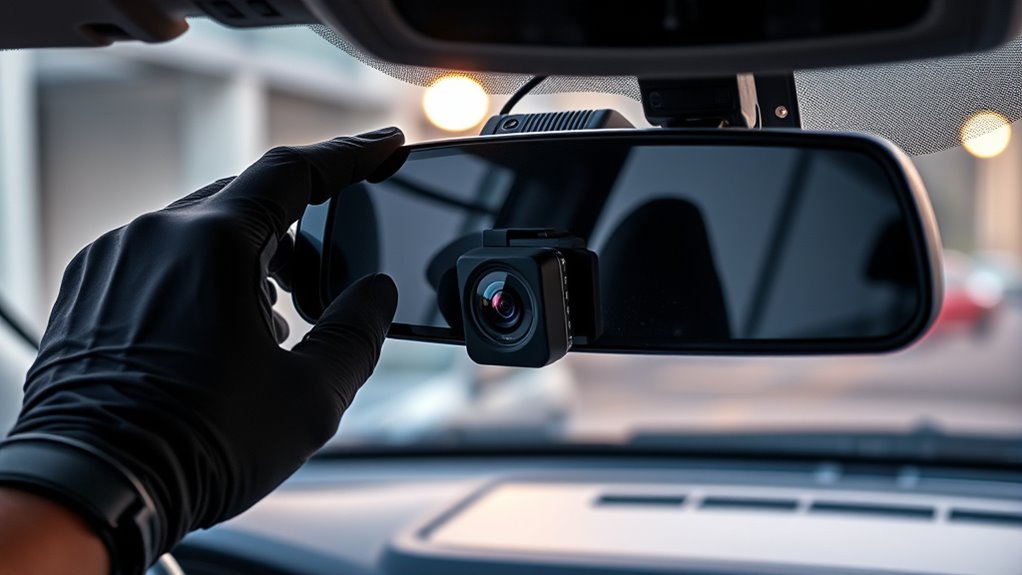
Mounting the Dash Cam Securely
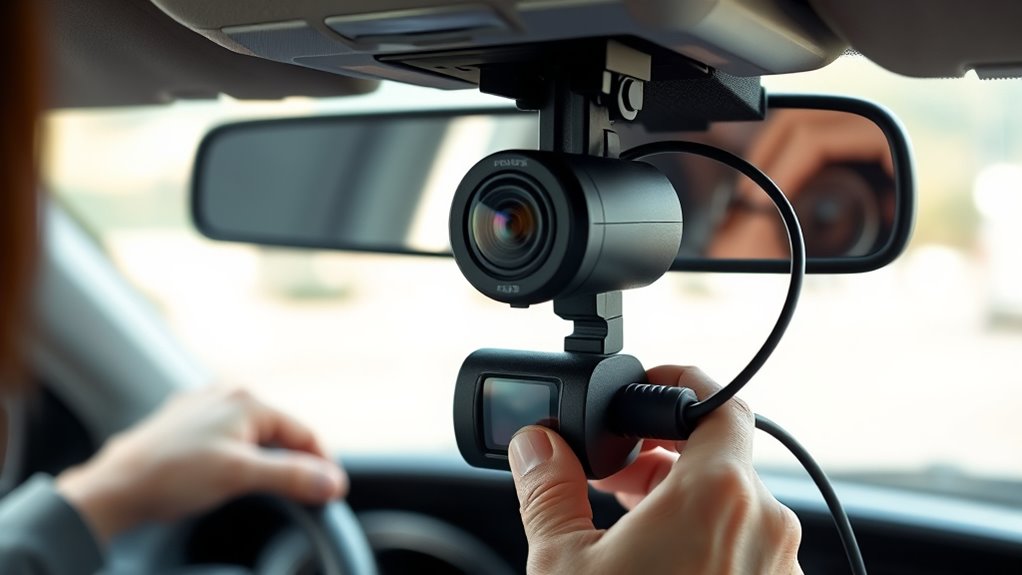
To guarantee your dash cam stays in place and functions properly, you need to mount it securely. Wireless mounting options offer a clean, hassle-free setup, using suction cups or magnetic mounts that attach firmly to your windshield or dashboard. If you prefer a more discreet solution, adhesive options provide a strong, permanent hold. Choose a high-quality adhesive pad or strip designed for automotive use to prevent the camera from shifting or falling. Position the mount so it doesn’t obstruct your view and ensures ideal recording angles. Double-check that the mount is firmly attached before proceeding to the next steps. Proper mounting ensures stability, clear footage, and easy adjustments, making your dash cam a reliable safety device on the road.
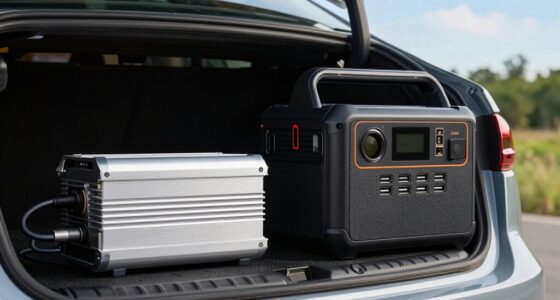
Connecting Power and Ensuring Proper Functionality
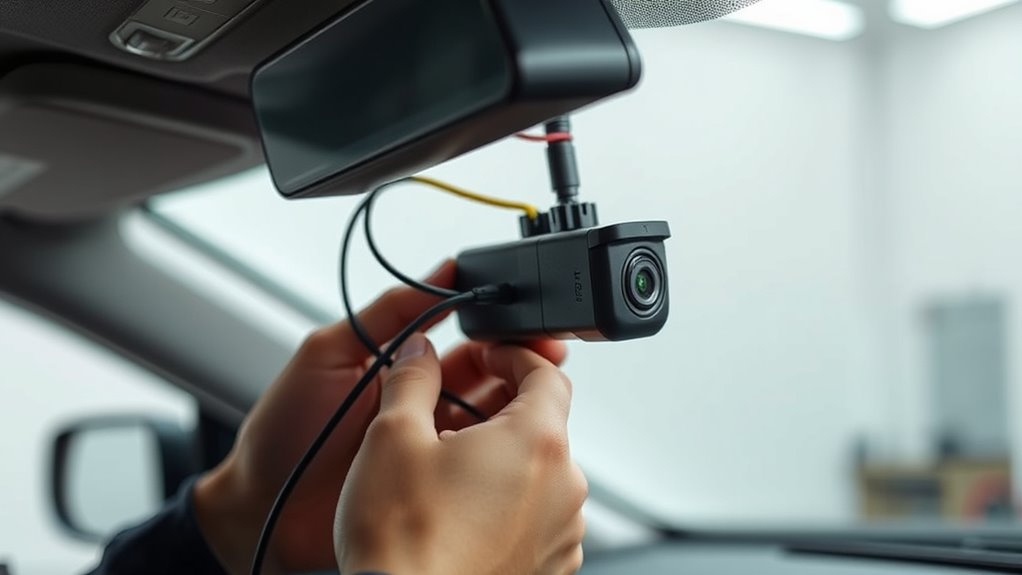
Connecting power correctly is vital to keep your dash cam operational and guarantee it records continuously. Start by choosing a reliable power source, such as your vehicle’s 12V outlet or a hardwired power cable. Once connected, check that the cable runs neatly along the windshield or dashboard to avoid distractions and interference. Good cable management prevents tangling and keeps the setup clean, making it easier to access or troubleshoot later. Make sure the power cable is securely plugged in and that there’s no strain on the connection. Turn on your vehicle to verify that the dash cam powers up and begins recording as intended. Properly connecting power and managing cables ensures your dash cam functions reliably and maintains a tidy appearance inside your vehicle. Additionally, understanding the electric power capabilities of devices like bike generators can help you select the best power source for your setup. When installing a dash cam, it’s also helpful to consider the power consumption of your device to ensure your vehicle’s electrical system can support it without issues. Being aware of your dash cam’s power needs helps prevent battery drain and ensures long-lasting operation. Recognizing the importance of AI security measures can also help in safeguarding your data and device against potential cyber threats. Proper wiring and cable organization are essential for a professional-looking installation that minimizes any risk of damage or disconnection.
Final Checks and Tips for Optimal Use
Once you’ve completed the installation, it’s important to perform final checks to guarantee your dash cam operates smoothly. Start by adjusting the camera angles to cover the most critical areas, like the road ahead and your vehicle’s sides. Verify that the lens isn’t obstructed and that the view isn’t distorted. Also, check the storage capacity to make certain it’s sufficient for your recording needs; delete old footage if necessary to free space. Keep in mind, a properly positioned camera provides clearer footage, and ample storage prevents interruptions. Use this table as a quick reference:
| Camera Angle | Storage Capacity | Key Tip |
|---|---|---|
| Wide view | 32GB or higher | Regularly clear old clips |
| Centered | Sufficient for daily use | Adjust for optimal coverage |
| Clear view | Enough for 24 hours | Test recording quality |
Additionally, ensure your dash cam is power reliable by checking the connection to your vehicle’s power source, which helps prevent unexpected shutdowns during recording. It’s also wise to familiarize yourself with any local regulations regarding dash camera usage to ensure compliance. Regular maintenance such as cleaning the lens and updating the firmware can further enhance performance and longevity of your device. Moreover, understanding the latest features available in newer models can help you upgrade when necessary.
Frequently Asked Questions
Can I Install a Dash Cam Myself Without Technical Skills?
Yes, you can do a DIY installation of a dash cam even if you don’t have technical skills. Many dash cams come with straightforward instructions and tools that make installation easy. Just follow the step-by-step guide, watch tutorial videos if needed, and take your time. With patience, you can successfully set up your dash cam yourself, saving money and gaining a sense of accomplishment.
What Is the Best Placement for a Dash Cam?
You’ll want to place your dash cam where it captures the best camera angles, typically behind the rearview mirror. Avoid obstructing parking sensors, so it doesn’t interfere with their function. Position it high on the windshield for a clear view of the road ahead, ensuring it’s secure and unobstructed. This placement provides ideal footage, minimizes glare, and keeps sensors working properly, giving you peace of mind on every drive.
How Do I Troubleshoot if the Dash Cam Isn’T Turning On?
Did you know that 80% of dash cam issues stem from power supply problems? If your dash cam isn’t turning on, check the power connection and fuse. Try a firmware reset to resolve glitches. Make certain your vehicle’s ignition is on, and reconnect the power cable securely. If it still won’t start, replace the fuse or consult the user manual for specific troubleshooting steps.
Are There Legal Restrictions on Dash Cam Recording?
You should know that privacy concerns and recording laws vary by location. In some areas, recording on public streets is legal, but recording private property without consent might violate privacy rights. Always check local regulations before using your dash cam. Be aware that some jurisdictions have strict rules to protect privacy, and violating these laws can lead to fines or legal action. Staying informed helps you record responsibly and avoid legal trouble.
How Often Should I Update the Dash Cam Firmware?
You should update your dash cam firmware regularly to guarantee optimal performance and security. Firmware updates often include bug fixes, new features, and improvements that enhance dash cam maintenance. Check your manufacturer’s website or app every few months, or whenever prompted by the device. Keeping your firmware current helps prevent glitches, ensures compatibility with other devices, and keeps your dash cam running smoothly on the road.
Conclusion
By installing your dash cam properly, you’re not just protecting your vehicle—you’re embracing a simple act of foresight. Think of the theory that small, consistent actions lead to greater security over time. When you take this step today, you’re investing in peace of mind, trusting that even the tiniest efforts can make a big difference. So, stay vigilant, and remember: a well-placed dash cam is your silent guardian on the road.