
To use the Tesla Trip Planner, start by opening the Tesla app and entering your destination under 'Navigate.' Adjust your route by adding or reordering stops, and customize your trip based on your starting battery percentage. Check suggested charging stops, marked with a lightning bolt, to see real-time availability. Make sure to send the trip details to your vehicle for navigation. Keep going to discover more tips for enhancing your Tesla road trip experience.
Key Takeaways
- Open the Tesla app, select 'Navigate,' and enter your destination to map out the route with Supercharger stops.
- Ensure the vehicle is connected to the app and has the latest software updates before sending trip details.
- Customize your trip by modifying stops, adjusting battery percentage, and avoiding certain road types if desired.
- Assess battery needs by checking power levels and reviewing suggested itineraries for optimal charging stops and travel time.
- Explore third-party apps like A Better Route Planner for enhanced route customization and real-time charging station updates.

RAMATA fit for Tesla Supercharger to Charge Ford F150 Lightning, Cadillac Lyriq Hyundai ioniq, Mach-E, GM, Rivian, Mercedes NACS to CCS Adapter 500A DC Fast Charging More CCS1 Electric Vehicle
— Attention:Not compatible with Ford Plug-in Hybrid Electric Vehicle (PHEV), 2013-2016 Chevrolet Spark EV, 2012-2016 Ford Focus EV….
As an affiliate, we earn on qualifying purchases.
As an affiliate, we earn on qualifying purchases.
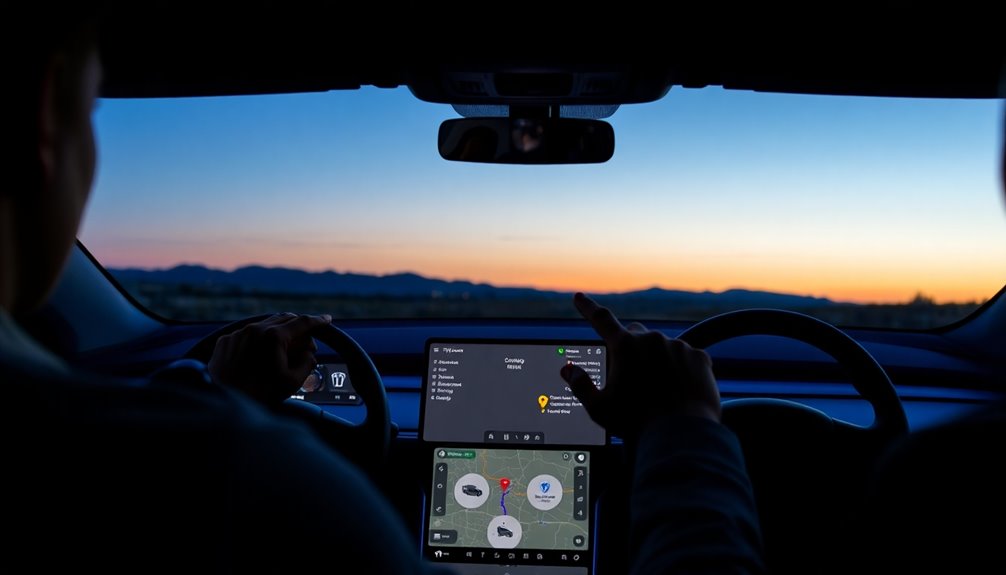
Understanding the Tesla Trip Planner
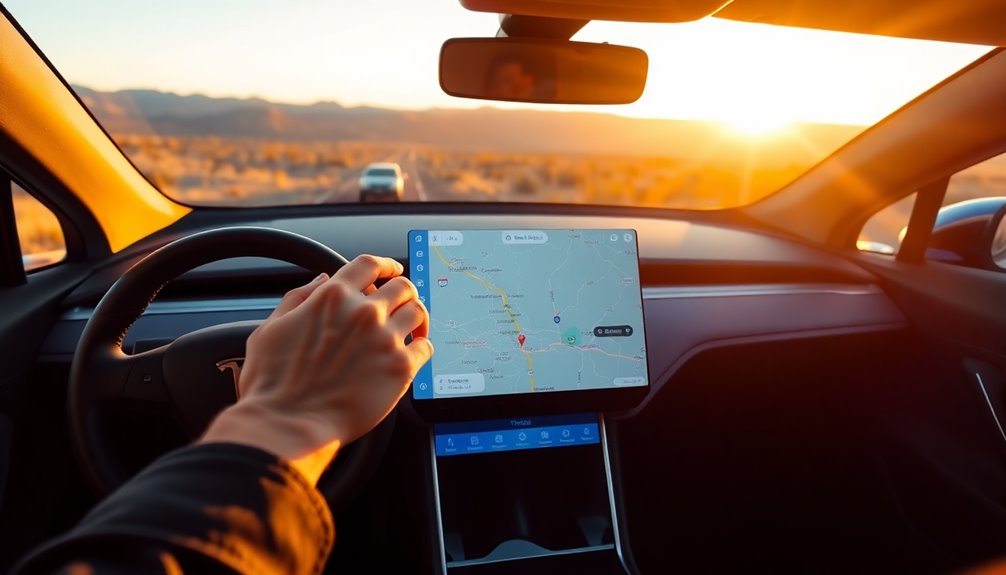
The Tesla Trip Planner is your essential tool for optimizing road trips in a Tesla vehicle. It seamlessly integrates with your navigation system, using real-time traffic conditions and energy consumption estimates to suggest the best routes.
You can customize your journey by setting your starting battery percentage, rearranging charging stops, and choosing preferred Supercharger locations. Each charging stop is marked with a lightning bolt icon, making it easy to identify available stations and their charging rates.
The Trip Planner also calculates estimated charging times at each Supercharger, helping you minimize overall travel durations. Plus, it alerts you if there's insufficient energy for a round trip or if a Supercharger on your route is out of service, ensuring a smooth experience.

Anker Laptop Power Bank,25,000mAh Portable Charger with 165W Total Output,3 USB-C Ports (100W Max Each),Built-in Retractable Cables,Flight-Ready,for iPhone 17/16 Series,MacBook,Samsung,and More
Triple 100W USB-C Ports for Multi-Device Charging: Ideal for laptop users, this 25,000mAh power bank features three 100W…
As an affiliate, we earn on qualifying purchases.
As an affiliate, we earn on qualifying purchases.
Step 1: Inputting Your Destination

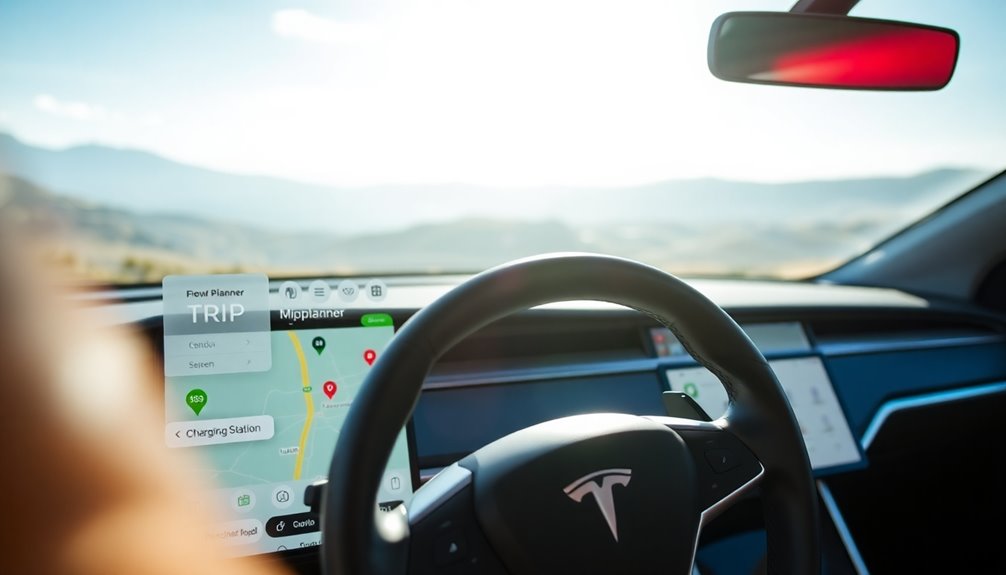
To get started with the Tesla Trip Planner, open the Tesla app and tap on 'Navigate.'
Type in your destination carefully to guarantee the best results, and the app will find it for you.
Once you've confirmed your choice, it'll map out the route and include Supercharger stops as needed.
Accessing Tesla App
Starting your journey with the Tesla app is simple and efficient. Open the Tesla app on your mobile device and tap on the "Navigate" option.
This action leads you to the trip planner, where you can enter your desired destination in the text field. Once you input your destination, the app will automatically locate nearby Superchargers along your route.
This feature guarantees you can manage your charging needs effectively. As you plan your trip, the app will display the estimated time of arrival (ETA) to your destination, along with battery status and details about each Supercharger.
With this information, you can confidently navigate your journey, knowing you're well-prepared for charging stops.
Entering Destination Details
After opening the Tesla app and accessing the navigation feature, you're ready to input your destination.
Tap on the "Navigate" option, then enter your desired destination in the search bar. The trip planner will start processing the route based on your input.
You can customize your trip by adjusting your starting battery percentage or selecting a different starting location if needed.
Once you've entered your destination and made any necessary adjustments, send the trip details to your Tesla vehicle for navigation.
The app will automatically calculate the best route and identify Supercharger locations along the way, ensuring you have a smooth journey while keeping an eye on real-time traffic and energy consumption estimates.
Finding Supercharger Locations
How can you guarantee a seamless journey with your Tesla? Start by using the Tesla app to input your destination. This way, you can easily find Supercharger locations along your route. The app will display charging stations marked with a lightning bolt icon, showing you their availability and charging rates.
Here's a quick overview of what to expect:
| Charging Station | Availability | Charging Rates |
|---|---|---|
| Supercharger A | Available | $0.28/kWh |
| Supercharger B | Full | N/A |
| Supercharger C | Available | $0.25/kWh |
With this info, you can plan your stops efficiently. Remember to check real-time updates on charger status through the trip planner for a smooth ride!

Ennovatools Tesla Accessories Center Console Alset Tray for Model Y 3, Food Eating Table, Holding Your Essentials During Autopilot, Road Trips, at The Charging Stations.
【The First Tray for Autopilot】The Alset Tray is perfect for holding your essentials during Autopilot, road trips, and…
As an affiliate, we earn on qualifying purchases.
As an affiliate, we earn on qualifying purchases.
Step 2: Adjusting Your Route
Now that you've set your destination, it's time to adjust your route to fit your preferences.
You can modify your destination, edit charging stops, and reorder waypoints to create the most efficient journey.
Take advantage of these features to guarantee your trip is tailored to your needs.
Modify Destination Preferences
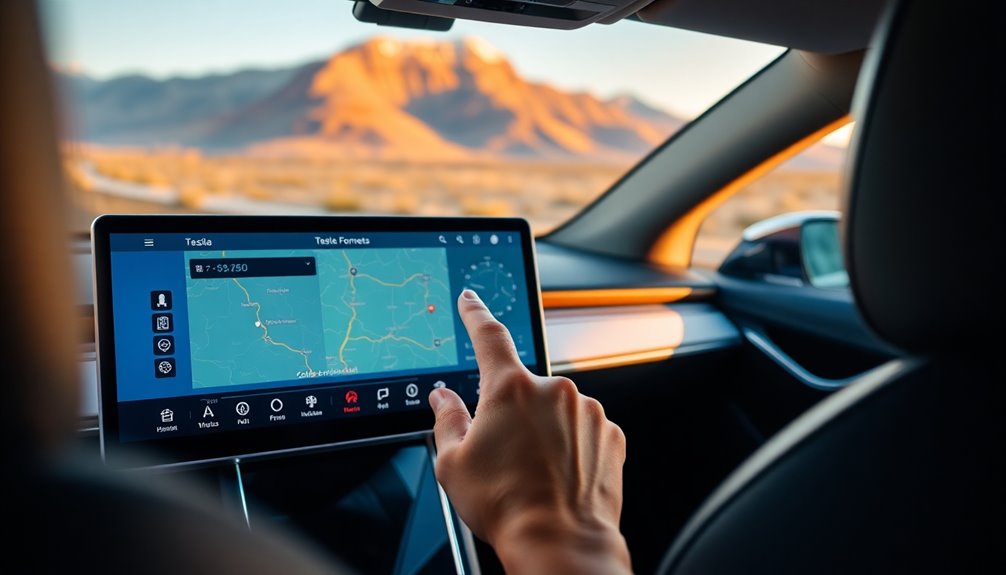
To modify your destination preferences in the Tesla Trip Planner, simply tap on the navigation settings icon after entering your destination.
Here, you can adjust various route options to suit your specific needs. You can add, delete, or reorder stops along your route for better customization.
Additionally, you have the option to set a starting battery percentage, ensuring more accurate trip planning.
Once you've made your adjustments, the Trip Planner will display up to three alternate routes, allowing you to choose the quickest or most convenient one.
If you want to avoid certain road types, like ferries or tolls, just update your navigation settings to reflect those preferences.
Enjoy your tailored travel experience!
Edit Charging Stops
When you're ready to edit charging stops in the Tesla Trip Planner, start by entering your destination into the navigation system. This will automatically suggest Supercharger locations along your route.
To fine-tune your trip, follow these steps:
- Select the route settings icon on your touchscreen.
- Choose to add, remove, or reorder charging stops as needed.
- Touch nearby charging location pins on the map for more information on specific stations.
- Review the calculated ideal charging times based on your current battery status and distance to your destination.
Always verify your navigation system is updated to reflect the latest charging station availability for the most efficient routing.
Happy driving!
Reorder Route Waypoints
After you've edited your charging stops, it's time to adjust your route by reordering waypoints.
To do this, tap on the navigation settings icon while directing yourself to your destination. You can easily add or remove stops by selecting a waypoint and dragging it to your preferred position in the list of navigation stops.
The Tesla Trip Planner even shows locations near the route, along with estimated detour times for any new additions.
If you don't pick an alternate route soon enough, the system will automatically choose the fastest route based on your current stops.
Plus, the mobile app allows you to edit and share your route with your vehicle, making adjustments on the go a breeze.
Tesla trip planning app
As an affiliate, we earn on qualifying purchases.
As an affiliate, we earn on qualifying purchases.
Step 3: Understanding Suggested Charging Stops

As you plan your journey, understanding the suggested charging stops is essential for a smooth trip. The Tesla Trip Planner automatically integrates these stops based on your current battery status and destination needs.
Here's what you should know:
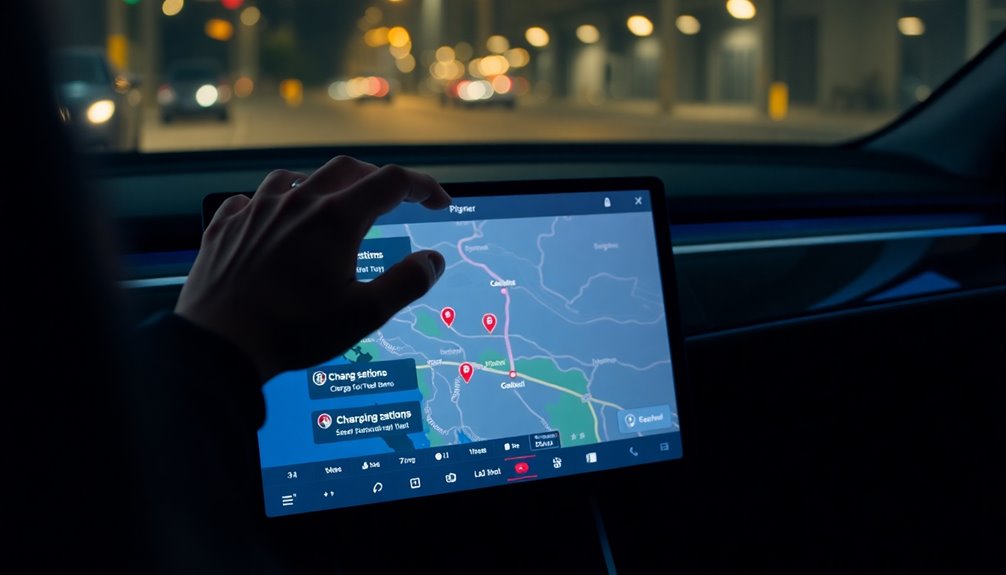
- Charging Locations: Look for stops marked with a lightning bolt icon on your navigation screen.
- Real-Time Availability: Each Supercharger location displays its availability and charging rates.
- Optimal Charging Times: The Trip Planner calculates the best times to charge, minimizing your overall travel duration.
- Alerts for Range Anxiety: You'll receive notifications if charging is necessary, and if a Supercharger is down, it'll reroute you to alternative charging locations.
With these features, you can navigate with confidence and ease.
Step 4: Customizing Your Trip
To customize your trip, start by setting your battery percentage or using the current level, which helps manage your energy better.
You can easily change your starting location to fit your plans.
Once you've tailored your trip, just send the finalized route directly to your vehicle for a smooth journey ahead.
Set Starting Battery Percentage
How can you guarantee your Tesla Trip Planner accurately reflects your travel needs? By setting your starting battery percentage, you ascertain the trip planner provides tailored routes based on your specific energy requirements.
Here's how to do it effectively:
- Open the trip planner and select your destination.
- Choose the option to set starting battery percentage.
- Input your desired level of battery power to assess your charging needs.
- Review the suggested itinerary considering your available battery capacity and charging infrastructure.
This feature is especially useful for longer trips, as it allows you to evaluate whether you'll reach your destination without additional stops for charging.
Customizing your starting battery percentage enhances your overall planning experience considerably.
Change Start Location Easily
When planning your trip, adjusting the start location in the Tesla Trip Planner can make a significant difference in your journey's efficiency. To change the start location, access the location section of the Tesla app and tap to modify the starting point. You can choose to set the beginning battery percentage or use your current battery level when you customize your trip.
| Step | Action | Note |
|---|---|---|
| 1 | Select location | Tap to change the start |
| 2 | Adjust battery percentage | Choose beginning or current |
| 3 | Confirm the new start location | Essential before sending |
This customization helps optimize the trip by factoring in the most efficient charging stops along the route.
Send Trip to Vehicle
After customizing your trip with preferences like starting battery percentage and route adjustments, it's time to send the details to your Tesla vehicle.
To do this efficiently, follow these steps:
- Confirm your vehicle is connected to the Tesla app.
- Check that your Tesla has the latest software updates for peak performance.
- Review your trip preferences and any customization options you've set.
- Tap the "Send to Car" option to transfer the navigation information directly to your vehicle's touchscreen.
Exploring Third-Party Tesla Trip Planning Apps

While Tesla's built-in trip planner is helpful, exploring third-party apps can greatly enhance your travel experience.
Apps like A Better Route Planner (ABRP) let you customize your trip planning based on your preferences and battery needs.
PlugShare is another excellent option, helping you discover charging locations while offering customization for plug types and nearby amenities.
These third-party apps provide features like elevation profiles, which can be essential for battery performance in mountainous areas, and real-time charging station availability updates.
Plus, many of these apps integrate seamlessly with Tesla's built-in trip planner, making it easier for you to find ideal routes and charging stops.
With user-friendly interfaces, they simplify the planning process beyond what Tesla's native features offer.
Tips for Effective Tesla Trip Planning

To make your Tesla trip planning as effective as possible, start by accessing the Tesla app and entering your destination.
Here are some tips to guarantee a smooth journey:
- Leverage the trip planner offers to find Superchargers along your route.
- Set the starting battery percentage to customize your journey based on estimated driving needs.
- Regularly check the app for current availability and charging alerts to avoid surprises.
- Utilize the automatic routing feature to efficiently plan your route, minimizing both driving and charging time.
Common Challenges and How to Overcome Them
Planning a trip with your Tesla can present some challenges, especially when it comes to finding charging stations and dealing with unexpected delays.
To tackle range anxiety, plan your route ahead of time using the Tesla trip planner to pinpoint Supercharger locations. Always keep an eye on your battery percentage; it's essential to start your journey with a full charge, especially in areas with limited charging options.
If you encounter traffic or weather issues, use the navigation screen for real-time updates to adjust your route and charging stops. Regularly check Supercharger availability on the Tesla app to avoid surprises, and consider portable charging solutions for emergencies.
Utilizing energy-saving features can also help you maximize your range and minimize stops.
Utilizing AFFiNE's Travel Checklist Packing Template
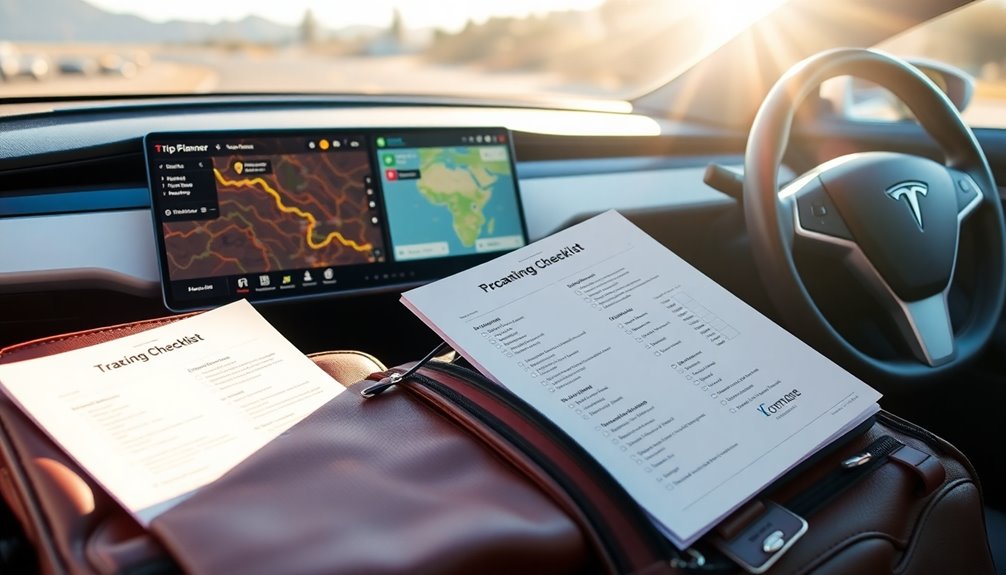
When you're gearing up for a trip, using AFFiNE's Travel Checklist Packing Template can make the packing process smoother and more efficient.
This template helps you organize your items effectively, especially when planning a road trip using Tesla's Trip Planner. You can easily customize it based on your current location and travel time.
Here's how to use it:
- Categorize items into clothing, toiletries, and electronics.
- Check off packed items as you go to avoid forgetting essentials.
- Add notes for special requirements like medications or travel documents.
- Choose to print or access it digitally for flexibility.
With this template, your electric vehicle experience will be even more enjoyable, knowing you're well-prepared! Additionally, being water-efficient can help you plan stops that suit both your travel needs and environmental considerations.
Enhancing Your Tesla Road Trip Experience
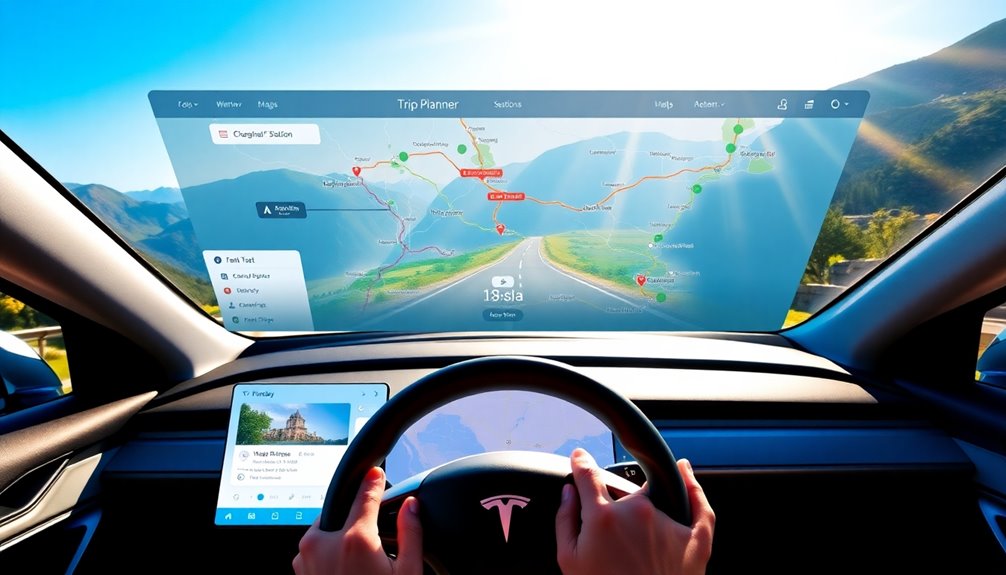
While commencing on a Tesla road trip, you'll want to make the most of your journey by leveraging the vehicle's advanced features.
Start by using the trip planner to input your destination; it'll automatically pinpoint Supercharger locations along your route. Customize your experience by setting your starting battery life and adjusting route preferences, like avoiding tolls.
The trip planner provides real-time updates to alert you when charging stops are needed and optimizes your route based on current traffic.
Don't forget to use the lightning bolt icon on the navigation screen to find nearby Superchargers quickly.
Plan your charging stops during meal breaks or sightseeing to enhance your travel time and enjoy your Tesla road trip even more!
Frequently Asked Questions
How Do I Use a Tesla Trip Planner?
To use a Tesla Trip Planner, you start by opening the Tesla app and guiding to the location section. From there, you can enter your desired destination and the app will calculate the optimal route, taking into account charging stations along the way. The tesla journey planning features make it easy to adjust your preferences, such as avoiding tolls or selecting supercharger stops, ensuring a smooth and efficient travel experience.
Input your destination, and the app'll show you nearby Superchargers along your route. You can customize your trip by adjusting your starting battery percentage or changing the starting location.
The planner'll provide your estimated time of arrival and charging needs at each stop, ensuring you stay informed throughout your journey.
What Is the 80% Rule for Tesla Charging?
The 80% rule for Tesla charging suggests you charge your battery to about 80% to optimize its health and longevity.
Charging to this level usually meets your daily driving needs while reducing time spent at charging stations. Since charging slows considerably after 80%, it's more efficient for routine use.
For long trips, you might occasionally need to charge beyond 80%, but keeping it under helps maintain your battery's lifespan.
Does a Tesla Trip Planner Take Temperature Into Account?
You might wonder how your Tesla knows just where to charge, especially when the weather's unpredictable.
Well, the Trip Planner does take temperature into account. It predicts energy consumption based on current weather, helping optimize your route.
If it's cold outside, you'll find charging stops are strategically suggested to guarantee you don't run out of battery.
Plus, it learns from your driving habits, making each trip smarter and more efficient.
How Do You Read a Tesla Trip?
To read a Tesla trip, you'll access the navigation screen, where you'll see your estimated time of arrival (ETA), battery status, and needed charging stops.
Look for the lightning bolt icons to identify Superchargers along your route, along with their availability and charging rates.
Keep an eye on the progress bar for updates on your journey's distance and traffic conditions.
Alerts will inform you if you need to reroute due to energy levels or Supercharger outages.
Conclusion
Using the Tesla Trip Planner makes road trips a breeze. By inputting your destination and adjusting your route, you can easily find charging stops tailored to your needs. For example, imagine you're driving from San Francisco to Los Angeles; the planner not only maps out charging stations but also suggests scenic routes. With a little customization, you can guarantee a smooth journey. So, pack your bags and hit the road, knowing you're prepared for an unforgettable adventure!